How to Create Your First 360° Virtual Tour?
Lesson 1
This tutorial shows you the different step to create a 360° virtual tour via virtualtoureasy.com....
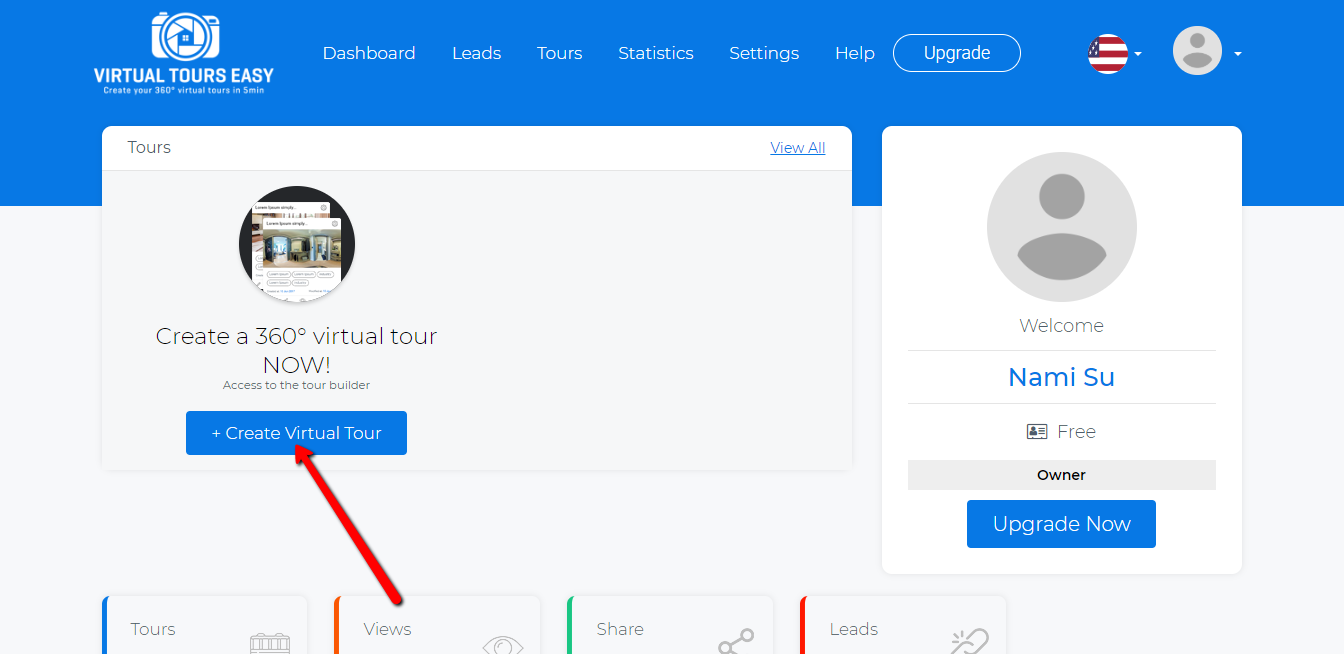
1. Access VirtualTourEasy.com and Register for an account. Don't forget to check your email for the activation link.
2. Once you're registered, click on Create a Virtual Tour button to access the Virtual Tour Builder.

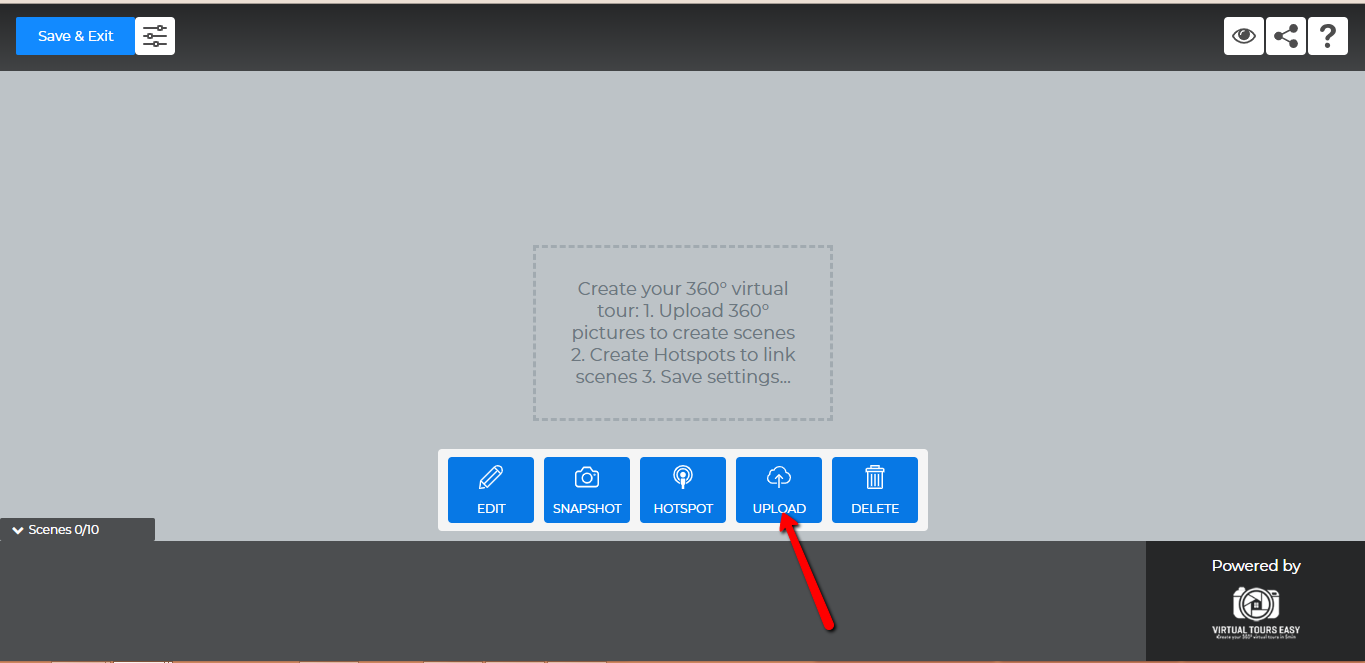
3. Once you're on the Virtual Tour Builder, upload your 360° pictures by clicking on the Upload Button. Wait until all the images are done uploading.

4. Left click on the scene of your choice and then click on the EDIT button to set a title, description for your scene and even upload an audio.

5. Create Hotspots
Hotspot is an important feature which allows to link scenes, create info point (text or html code) or create a link.
5.1 Select the scene where you want to create a Hotspot
5.2 Left Click on the Hotspot button, a Cross sign will appear
5.3 Place the hotspot point where you want in the scene by maintaining the left click on the hotspot and moving your mouse

5.4 Double left click on the hotspot created to add Hotspot Name, Linked Scene, icon, Info Point, and Link to Website. Hit save.

6. Configure your Tour
Configure your tour by filling out the Tour Info, Settings, Branding, Layout and Location inside the Filter Button. Hit save.

7. You can also click the buttons at the top of the Tour Builder whenever you want. Buttons for Zoom in/out, Preview, Share and Help are available.

8. Once you're done, Click the "Save & Exit" Button. Don't worry if you accidentally close the page, it will also save automatically.

9. After saving, you will be redirected to the Dashboard. The Virtual Tour you just created will also show on your Dashboard where you can edit, share, preview, like (for premium users), and view stats (for premium users.